Why Clay Cracks—and How to Work With It, Not Against It

Why Clay Cracks—and How to Work With It, Not Against It
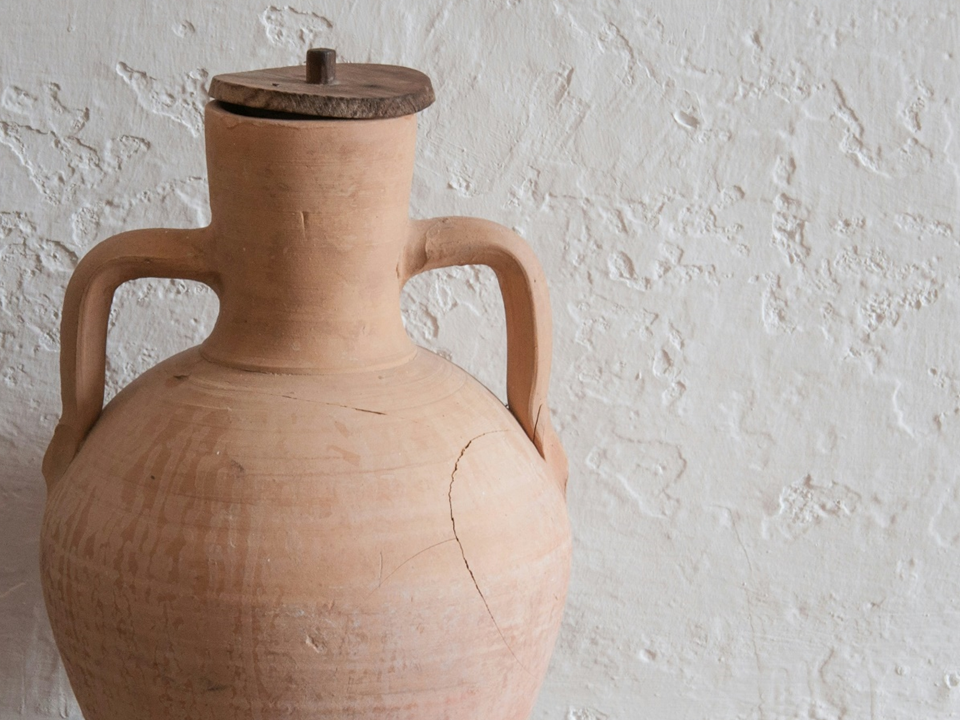
If you’ve ever opened your drying shelf to find a hairline crack in a piece you loved, you’re not alone. Cracking isn’t a sign you’ve “done something wrong”—it’s clay’s way of telling you it’s under stress. And with a little listening, we can often prevent it.
Clay shrinks as it dries. When that shrinkage happens unevenly, tension builds—and cracks appear. The good news? Most cracking comes from a few common causes, and with mindful making, we can help our pieces dry with grace.
Here are eight gentle reminders to support your clay through its drying journey:
1. Watch for Uneven Walls
Thick bases and thin rims dry at different speeds—like siblings growing at different rates. The mismatch creates stress.
→ *Try this:* Aim for consistent thickness. Use a needle tool to check walls and bases. If you’re hand-building, gently compress coils or slabs as you go. And don’t be afraid to slice a test piece in half—it’s how we learn!
2. Protect Delicate Edges
Rims, handles, and carved details dry fastest because they’re exposed.
→ *Try this:* Cover your piece loosely with plastic (a dry cleaner bag works great!). Turn pots upside down once leather-hard to shield the rim. Wrap fragile additions in damp (not wet) paper towels, then plastic.
3. Give Large Pieces Extra Time
Big sculptures or wide platters need patience. Their mass holds moisture longer, while surfaces race ahead.
→ *Try this:* Dry slowly. Cover fully for the first 24–48 hours, then uncover gradually. Place on a wire rack so air circulates evenly—no “wet feet” on a solid table!
4. Wedge with Intention
Unwedged clay often has hidden pockets of dryness or air, leading to uneven drying.
→ *Try this:* Wedge not just to remove air—but to unify the clay’s moisture and memory. Think of it as a handshake with your material before you begin.
5. Compress the Base
On the wheel or in hand-building, an uncompressed base shrinks more than the walls, pulling away and cracking.
→ *Try this:* After shaping, gently press and smooth the bottom with a rib or your thumb. This aligns particles and encourages even shrinkage.
6. Respect the Weather
Heat, wind, and low humidity speed up drying—often too fast for comfort.
→ *Try this:* In dry or warm months, keep pieces under plastic longer. Avoid placing work near heaters, fans, or sunny windows. A slow dry is a safe dry.
7. Know Your Clay Body
Some clays—like porcelain or highly plastic stoneware—are more prone to cracking due to fine particles and high shrinkage.
→ *Try this:* If you’re making large or complex forms, consider a grogged clay. Fine grog adds strength without sacrificing smoothness—great for wheel work and expressive hand-building alike.
8. Mend While It’s Fresh
Tiny cracks in soft or leather-hard clay will only grow.
→ *Try this:* Smooth them out immediately with a damp finger or soft brush. If the crack is deeper, score the area, add slip, and blend gently. Clay forgives—when we act with care.
---
A Few Extra Touches That Help
- Join with care: When adding handles or slabs, always *score and slip*—and match moisture levels. A wet handle on a dry pot is a recipe for separation.
- Create a damp box: Line a plastic tub with plaster or damp sponges, and store leather-hard pieces inside to slow drying. Many of us keep one near our stations!
- Embrace the lesson: If a piece does crack? Don’t toss it right away. Some become perfect for kintsugi, mosaic, or reclaiming. Nothing is truly wasted here.
---
Final Thought
Cracks aren’t failures—they’re conversations. Every split tells a story about speed, thickness, or environment. By slowing down, observing, and adjusting, we learn to move *with* the clay, not ahead of it.
And in our studio, that’s the heart of the practice: listening, adapting, and making with kindness—for the material, and for ourselves.
Happy making,
*Your Studio Community*
Customer Testimonials
Our participants share their experiences—many discover not just pottery, but a creative community.